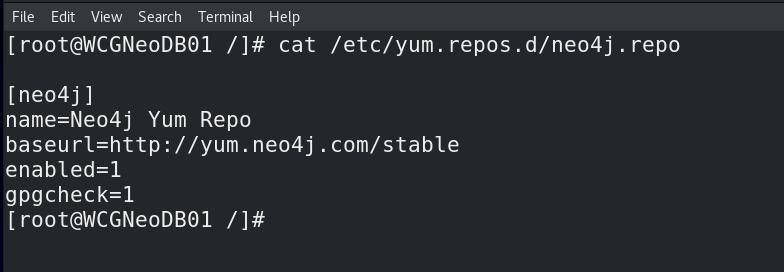
In my previous post we have seen how to Install neo4j 4.4 on a Linux machine. Well, that was pretty simple, so what’s next? In this blog post let’s dig a little further and explore configuration parameters, basic tools, default values etc.
Tools used to manage and interact with neo4j:
“Cypher-shell” and “neo4j browser” are the two tools you need to be extremely comfortable with, out of many that are made available by neo4j. Cypher-shell is the go-to tool for database admins to perform all administrative tasks and neo4j browser is a GUI tool primarily used by Devs and admins to visualize schema and or data.
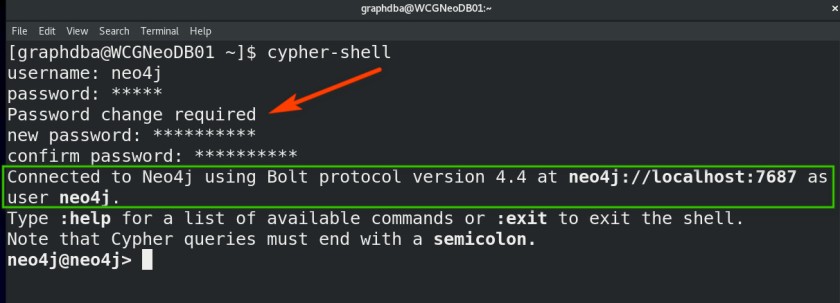
Now that we have installed neo4j on our server, let’s connect to neo4j from cypher-shell. Well, what user name and password should I use to connect for the very first time to neo4j? If you remember, we haven’t specified any user/password during installation. The answer is user:neo4j and pwd:neo4j. When you connect to your neo4j instance for the very first time using neo4j/neo4j username/pwd combination, it will ask to change the password. See below screenshot to understand what exactly I am referring to….
Quick Tip: Use neo4j-admin utility to setup admin password for the first time if you want to avoid logging in using default pwd and reset manually.
neo4j-admin set-initial-password Mysuper$eCret$Pwd
So what databases are available/installed by default?
‘SYSTEM’ and ‘neo4j’ are two databases which will be made available by the installation process.
- ‘SYSTEM’ database is the one which stores meta data and users/authentication/authorization etc etc. Think of it like master database in sqlserver.
- ‘Neo4j’ is the default database and this is where you would create nodes and relationships (basically your graphs) or you can create your own user databases as long as you are using enterprise edition.
How to list all databases in neo4j?
SHOW DATABASES;

//use yield keyword to list only properties(columns) that you are interested in as shown below.

How to switch database/change database context?
:USE DATABASE;
How to create a new database in neo4j?
CREATE DATABASE DBNAME;
How to stop and start a database in neo4j?
STOP/START DATABASE DBNAME;
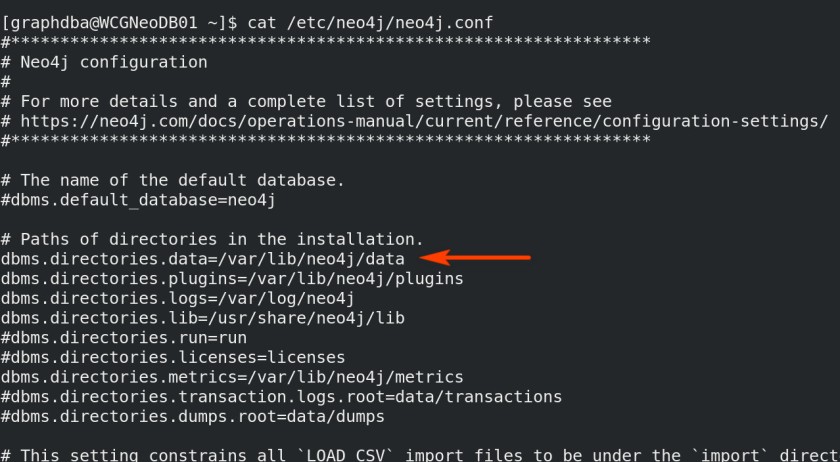
So what exactly got created on my file system when I created this new database and where? ‘/var/lib/neo4j/data‘ is the default path for all databases in neo4j which can be changed by modifying neo4j.conf file. See below for all the files neo4j created behind the scenes when I created a new database.
But what if I have a dedicated mount for hosting my databases and I want to use that path instead? Well, that’s where neo4j.conf files comes into play where you can modify parameter values as needed.
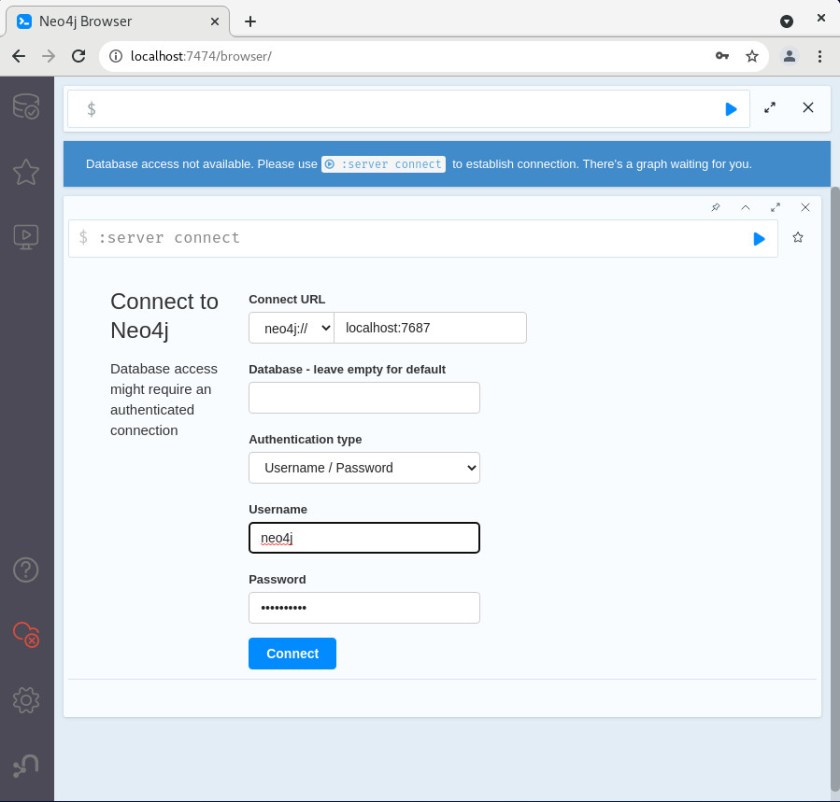
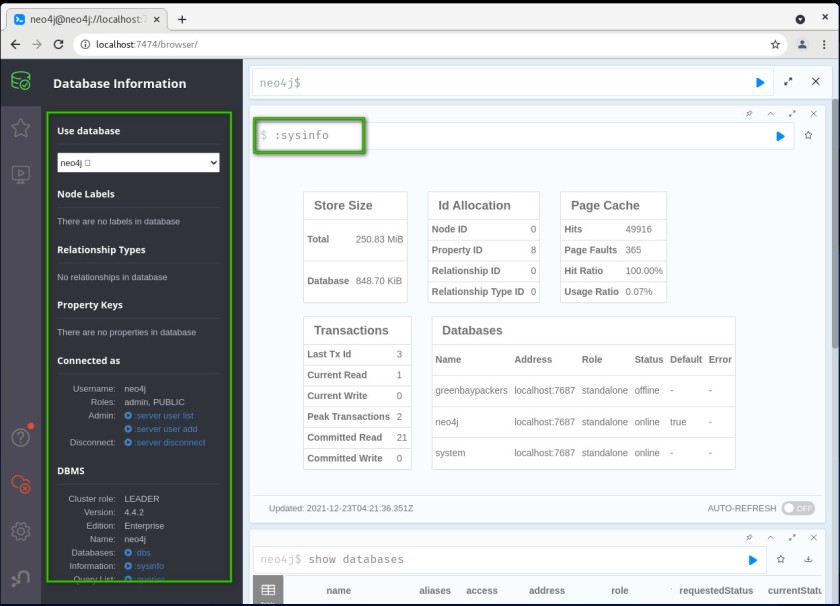
Now coming to the other tool (neo4j browser) that I mentioned in the beginning, on the host, just open the browser and navigate to localhost:7474 and voila….here you go.
Happy learning, cheers!

