How to install MongoDB in RHEL & in Docker Container.

In this blog post, lets see how to setup and configure MongoDB in Linux environment (I am using CENTOS in my lab, but the steps to follow are exactly same for RHEL) and also how to spin up a MongoDB container(s), I will be using Dockers for all my containers.

Setup MongoDB on a Linux machine

Download the mongoDB repository file or create it manually in yum.repos.d folder with the content as shown below.

Go to the official MongoDB documentation for more specific details on how to get a specific release or how to pin a specific release.
Now that I’ve my repository configured, All I have to do is to run below command.

sudo yum install -y mongodb-enterprise


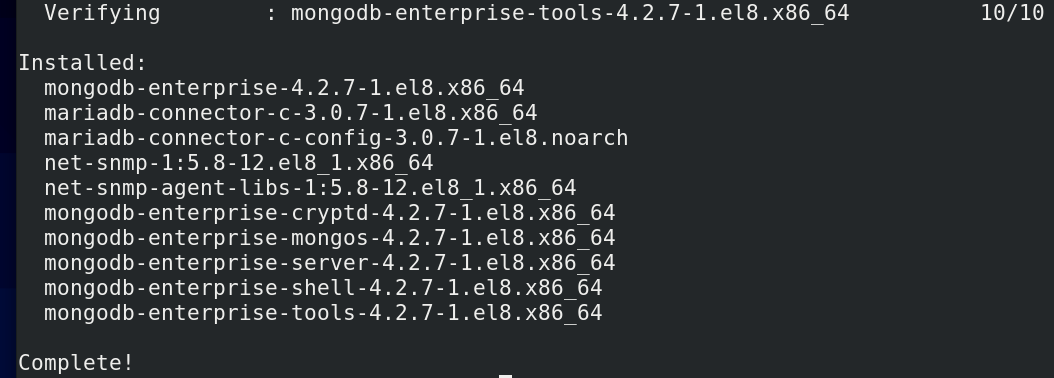
Great, At this point I’ve installed MongoDB enterprise on my machine, but it is in stopped state as shown below and I had to bring it online.

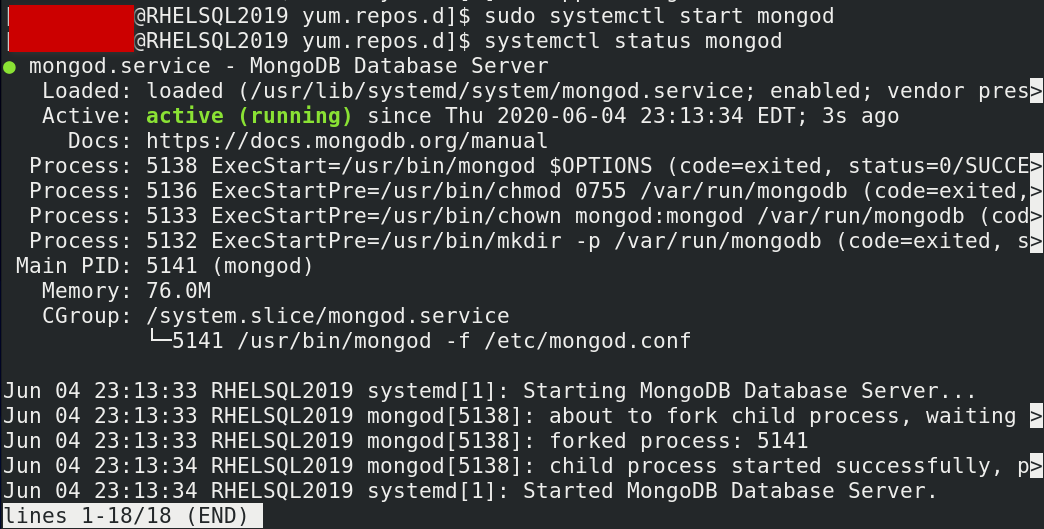
That is all it takes to setup MongoDB on a Linux machine with default values. In most of the cases we may want to change the default paths etc per requirements and standards in place. Well, let’s check them out and customize per our needs…

Default directories:
/var/lib/mongo – This is where your database files will be created.
/var/log/mongodb – This is where your log file(s) will be created.
Note: These are Error log files, don’t get confused with log files term that we use in our SQL Server world 🙂 In Mongo, write ahead logging is achieved by something called journaling and journal files will be created in a separate folder under “/var/lib/mongo”
The Config File:
/etc/mongod.conf
This is the file which holds all the paths, configuration settings, parameter values and what not. There are hundreds of things that can be configured, MongoDB official documentation is your best friend here.
For example, To setup a data  and/or log directory other than the default directories, you can just create the directories and specify them in /etc/mongod.conf file.
storage.dbPath to specify a new data directory path (e.g. /mounts/datadir/directory)
systemLog.path to specify a new log file path (e.g. /mounts/logs/mongo/mongod.log)
Note: The user(“mongod” is the default user/group) running MongoDB must have access to these directories.  You can make it as owner of your mongodb folders by running below command.
chown -R mongod:mongod /your/dbpath/

Create a MongoDB Docker container

Now let’s see how to spin up a MongoDB container in docker environment.  First step is to pull the required image locally and then build the container. I am using a brand new machine with no images downloaded so far. So, to begin with I searched for the official MongoDB image and issued a docker run command as shown below.
Note: Docker run will also take care of pulling the image if you don’t have it. Or you can issue docker pull and then a docker run….It’s up to you.
Command:
docker run -d -p 27017:27017 -v data: /mongo/data/ mongo
-d : detached mode, to get control back of my current console window (Optional).
-p : mapped local port 27017 on my host to mongodb def port 27017.
-v: created a persistent volume (Optional).
And you know what, we are done! That’s all it takes….you have everything ready in less than a minute 🙂
To connect to my mongodb container from this host, All I had to do was issue “mongo” and voila I am connected, since I am using default port of 27017.
Note: I have mongodb client tools already installed on this machine.
Let’s say I want to create few more Instances of MongoDB on this machine, all I have to do is leverage docker and spin up containers listening on different ports as shown below.
docker run -d -p 27018:27017 -v data: /mongo1/data/ mongo
docker run -d -p 27019:27017 -v data: /mongo2/data/ mongo
Cheers!
Advertisement

Leave a Reply

Fill in your details below or click an icon to log in:

WordPress.com Logo

You are commenting using your WordPress.com account. Log Out /  Change )

Facebook photo

You are commenting using your Facebook account. Log Out /  Change )

Connecting to %s

This site uses Akismet to reduce spam. Learn how your comment data is processed.

%d bloggers like this: