In the third part of this series InstallCluster-Part3, I’ve shown you how we can create a Domain/DNS and add rest of the Nodes to that domain, configuring NIC’s and all that Cool stuff.
In this part of the series let’s see how can we configure our SAN.
As I already mentioned in earlier, I’ll use Starwind Software to build my SAN. Just download and copy the exe to my SANDC machine and double click on the executable. It will be pretty straight forward Installation with Next->next choosing all the defaults.
Note: Microsoft ISCI Initiator service should be turned ON and set to start automatically.
Once Installation is complete and you should be seeing the below screen if you open the Starwind Management Console.

Right click on the Starwind Servers and choose Add Host as shown above.
Enter the IP Address of the machine which you are planning to act as our SAN. In our case it’s machine SANDC.

Once the Host has been added, now you’ve to connect to it. User: Root/ PWD:starwind.
You’ve to now apply the license key which comes with the free download. You can follow the below steps for installing license. Host – Registration ->

Browse to the folder where the key is located and hit “OKAY”.
Now we are all set to create our LUN’S using this management console.
Creating LUNs using Starwind:
Once you are successfully connected to the Host, you’ve the ability to add as many targets as we need. You can add targets by following the below screenshots in sequence.


Next and Finish. Similarly go ahead and create Drives with names MSDTC, SQL1DATA,SQL2DATA, SQL1LOG,SQL2LOG,SQL1BAK,SQL2BAK,SQL1TEMPDB,SQL2TEMPDB. (All the PROD2 LUNS can be easily added to cluster in future if you are planning to make it an A-A cluster from A-P).
I’ve created all the required LUN’s for my Active-Passive Installation of Cluster as shown below.

Prestoooo……! That’s all we need to configure your SAN Drives in Starwind.
Now we are just left with initiating those SAN Drives from Windows, so that our Servers can see them as Drives. All we need is just going to iSCSI Initiator and discover our SAN Server.(Remember Starwind SAN is typical iSCSI, not Fiber channel(HBA) based) Let’s see how can we do that below.
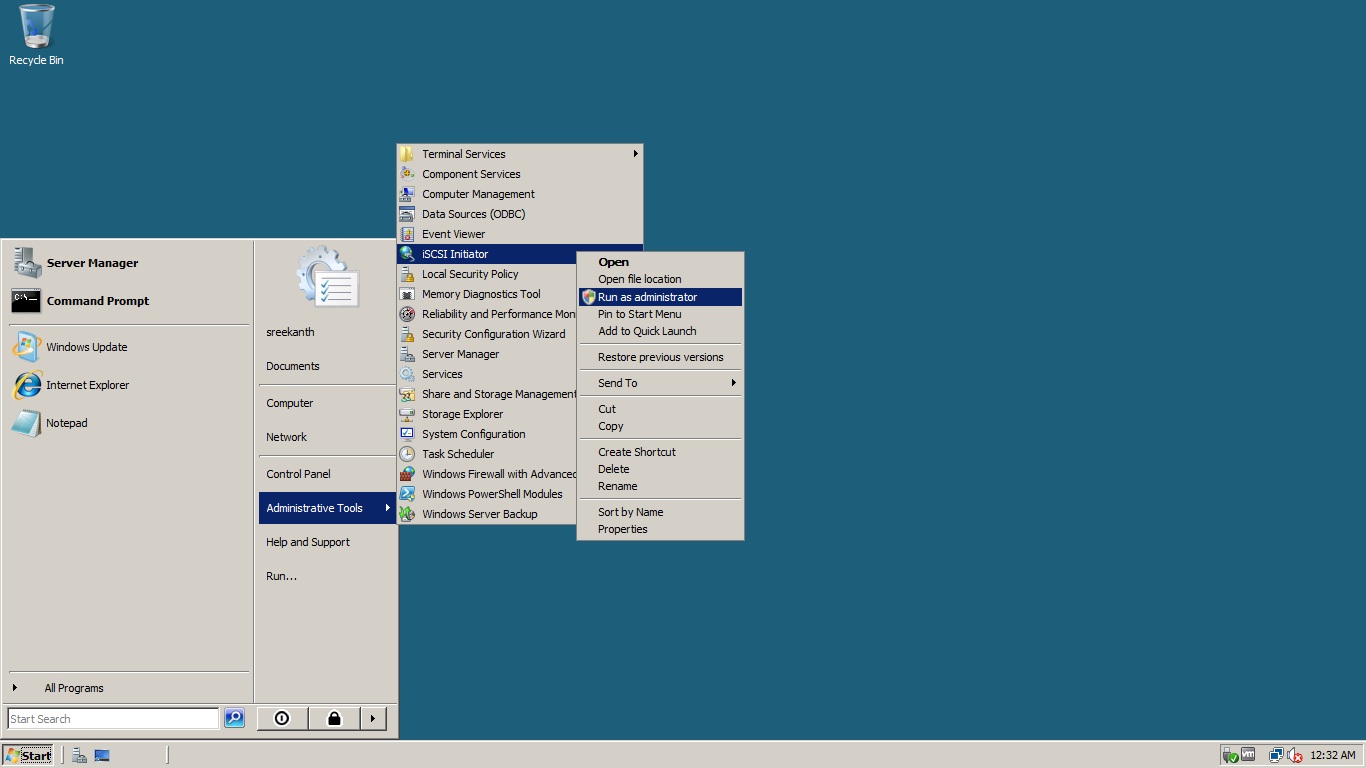
Login to Node1 with Administrator Account and go to Start->Administrative tools and Run iSCSI Initiator as Administrator as shown below.
In Discovery Tab click “Add Portal”. Enter the SANDC machine IP Address.


Now, switch to Targets Tab and you should be seeing all the Starwind targets we created as shown below.

Now, select a target and click on “Log On” button and dont forget to select “Automatically restore connection when the computer starts” option as shown below.
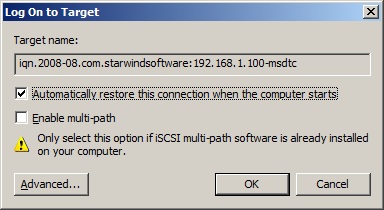
Click OK and do the same for all the targets. Once done, you should be seeing something similar to the below screenshot.

Now….Let’s see what’s in there inside “My Computer”….

Hmmmmmm…..Looks like Computer didn’t recognized our new drives!! So what are we missing here???
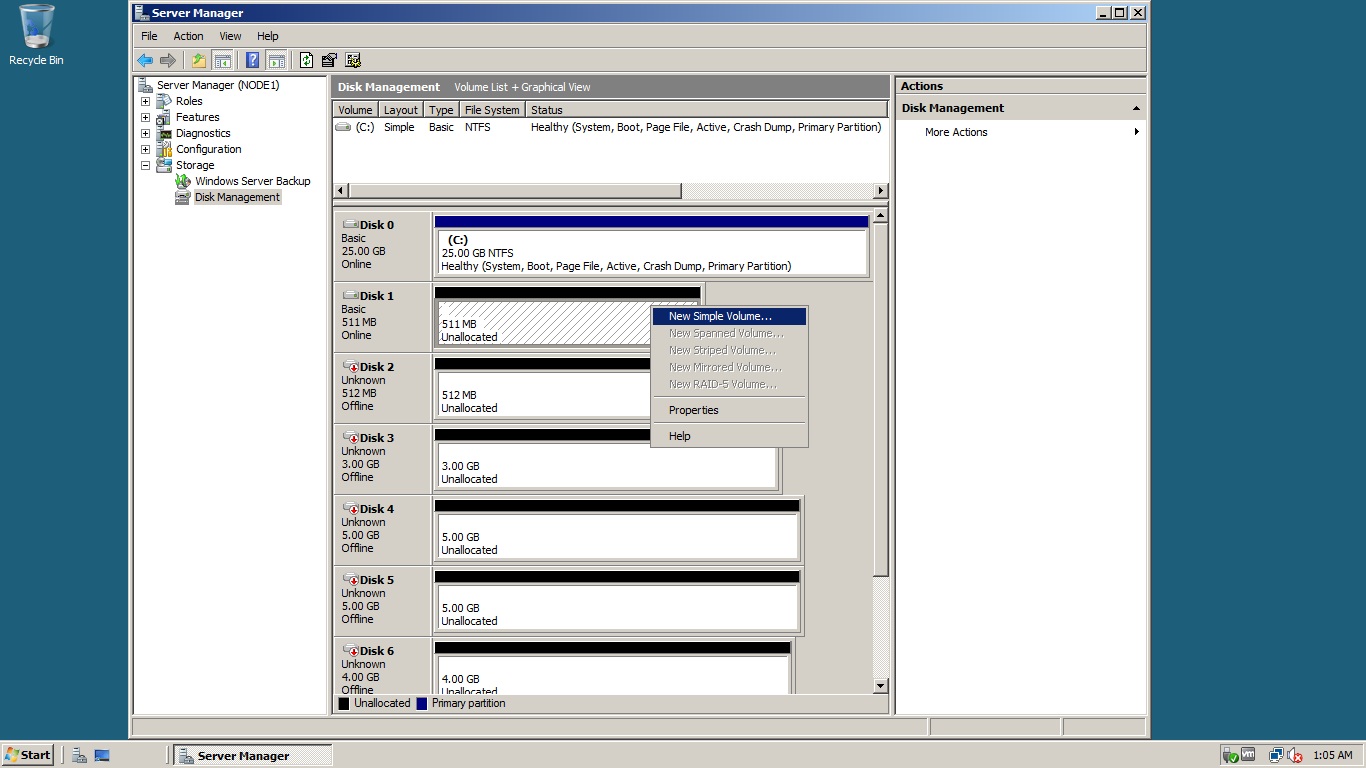
Storage Manager: Right Click on my computer and Manage and Go to Storage and Prestooooo…..now we are able to see those targets as Offline. All we need here is to Bring those drives Online and do a Quick Format and Lable them and assign them with a Drive letter. Let me show you guys what i’m saying for one drive…Follow the screenshots below sequencially.

Now you will be seeing drive is Online but not Initialized…You’ve to Right click again and Click “Initialize Disk” as shown below.

Choose MBR if asked for and Click Ok. Now You can see your Drive as Online, but you still need to Format the Disk with NTFS.

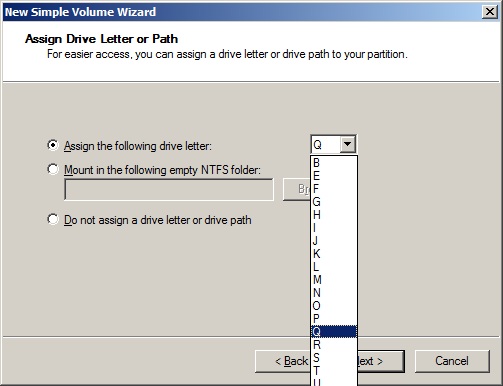
RC again and click New Simple Volume
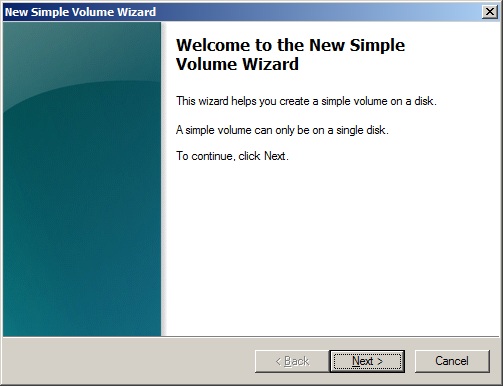
You’ll be welcomed with a simple Wizard as follows…


Now let’s go to My Computer and see how it looks now….Keep your Fingers crossed!!

Hohooooooooooo……..There we Go!!!! We did it:) Now do the same with all the drives as an exercise for yourself. I’ll do the same and My computer now looks like below

Perfect….Okay Guys We’ll continue with creating a Windows Cluster in the next part of this series.


Leave a comment