In the previous post InstallCluster Part-1 I’ve discussed about what are required prerequisites and few best practices. Assuming you’ve downloaded all the required software’s and Operating System ISO(x86 or x64 depending on your CPU), let’s continue to install windows Server 2008 VM(s).
Let’s install three VM’s in this 2nd part of series to prepare our LAB environment.
Step1: Install VMWare workstation on your PC/Laptop. Once installed successfully, we can create as many virtual machines as needed. In this Series, we’ll be installing 3 VM’s with Windows Sever 2008 enterprise edition.
VM1 – Domain Controller and my Server to hold SAN(Software based). Let’s call it as “SANDC”.
VM2 – Server 1 participating in our Cluster. Let’s call it as “NODE1”.
VM3 – Server 2 participating in our Cluster. Let’s call it as “NODE2”.
You can create a new VM by choosing either of the options as shown below.

Choose Typical(recommended) to keep it real simple as shown below.

I’ve already downloaded Windows Server 2008 ISO file from microsoft site. I’m selecting that Image as my installation media as shown below. You can choose DVD if you already’ve DVD handy.

You’ve to choose either Enterprise or DataCenter Version and proceed to next as shown below.

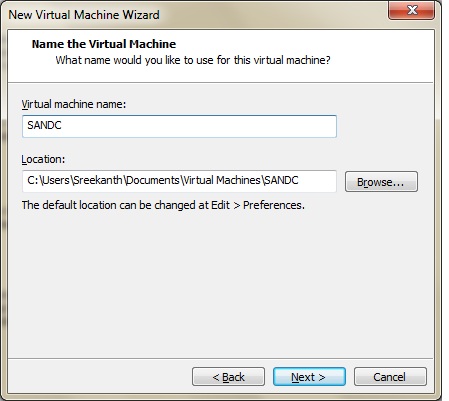
I’m naming it as SANDC as shown below(this machine would be my Domain controller and SAN Server).
I’m creating this machine with 50 GB of size total(My entire SAN is included within this 50 GB of storage). You can choose accordingly.
Now It’s time to customize your Hardware. Click on the Customize hardware button as shown below and remove Floppy Drive and Printer devices. Also, you’ve to choose your Network adapter accordingly here.
Note:
Any device can be added/removed or type of the device can be changed later even after installation with no issues. That’s the beauty of Virtualization:)


Note:
Single Network Adapter(NIC) is enough for this machine since it’s acting as a DC and SAN. We need 2 NIC cards(one for public and one for private) for Node1 and Node2 machines since they are the actual machines participating in cluster.
Click OK and then Finish. You’ll be welcomed by the Microsoft Windows Server 2008 Installation Screen.
You should be seeing similar screen as shown below once you click next-next(I skipped activation, because mine is a free trial version and i don’t have any activation Key).

Nowwww, it’s time to Go and Grab some coffee or Soda 🙂 It will take 10-15 minutes to complete installation. Similarly Install 2 more VM’s with names Node1 and Node2. Once done make sure that all the latest updates are installed by clicking on “Windows Update” in Start menu(You’ve to be connected to Internet to be able to do this.) Let’s see how things look at first and how to create a brand new domain and add new machines to domain in the next series.


Leave a comment